


How to Make Sourdough Starter for Homemade Bread
Make sourdough starter for homemade bread and experience the age-old tradition of creating your own leavening agent from just flour and water. This simple yet transformative process yields a living culture that not only imparts a tangy flavor to your bread but also enhances its texture and digestibility. In this guide, we’ll walk you through each step, ensuring you’re fully equipped to cultivate and maintain a vigorous sourdough starter. From feeding schedules to spotting signs of a healthy or struggling starter, every aspect is covered. Embark on this culinary journey and elevate your bread-making skills to the next level.
## What is a Sourdough Starter?
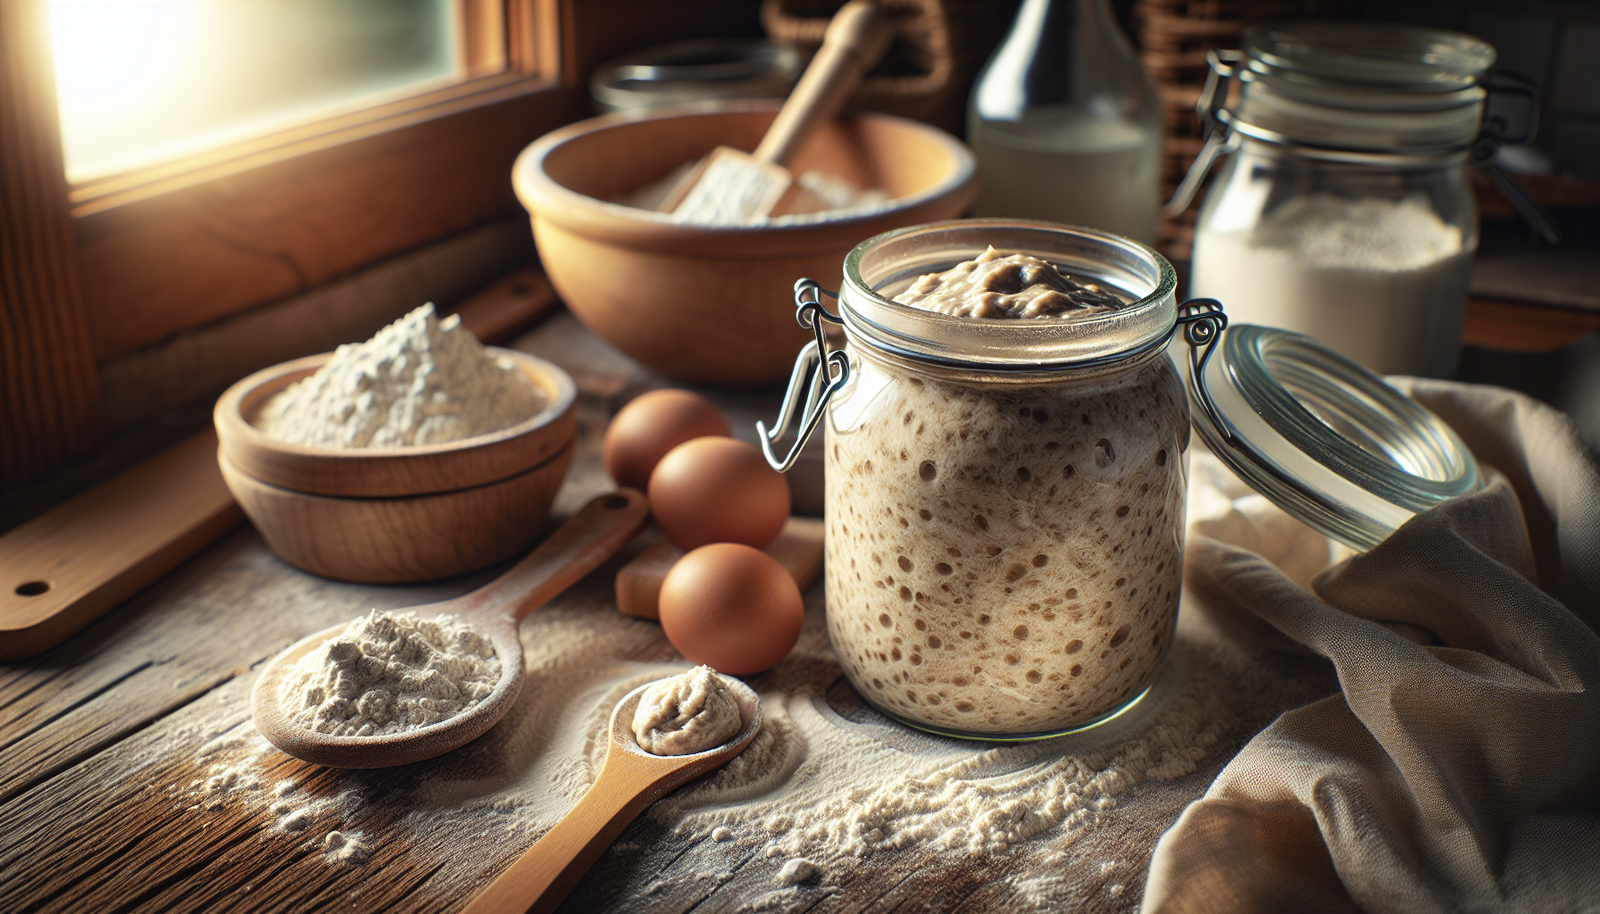
A sourdough starter is a living culture essential for creating authentic sourdough bread. It’s a simple blend of flour and water that transforms into a powerful leavening agent through natural fermentation. Unlike commercial yeast, this natural starter fosters wild yeast and beneficial bacteria, giving sourdough its distinctive tangy flavor and chewy texture.
### Understanding the Basics of Sourdough Starters
At its core, a sourdough starter is a mixture where wild yeast and bacteria coexist. These microorganisms thrive on the sugars in flour, producing carbon dioxide and acids. This not only makes the dough rise but also imparts the sour flavor that sourdough is famous for. The wild yeast in the starter breaks down gluten, making it easier to digest.
Creating and maintaining a starter is both an art and a science. Patience is key, as the starter evolves over time. This living culture is nurtured by regular feedings, where you add fresh flour and water. This sustains the yeast and bacteria, ensuring a strong and active starter for baking.
### Differences Between Sourdough Starters and Yeast
While both sourdough starters and commercial yeast aid in bread rising, their differences are significant. Commercial yeast is a single strain of yeast, designed for consistency and speed. It works quickly, allowing bread to rise in a few hours.
Conversely, a sourdough starter is a composite of various wild yeast strains and lactobacilli. It requires more time for the fermentation process but rewards with unique flavors and textures. The natural acids produced during fermentation also act as natural preservatives, extending the shelf life of sourdough bread.
### Benefits of Using a Sourdough Starter
Sourdough starters offer numerous benefits beyond flavor. The long fermentation process breaks down phytic acid in grains, making nutrients more bioavailable. This can aid in digestion and absorption of minerals. The acidic environment also contributes to a lower glycemic index, which can be beneficial for blood sugar management.
Sourdough bread is cherished for its complex taste and chewy crumb. The probiotic content from the fermentation process can promote gut health. By using a sourdough starter, bakers can create artisanal bread with distinctive characteristics that reflect their local environment.
## Step-by-Step Guide to Make a Sourdough Starter
Creating your own sourdough starter is an exciting endeavor. It’s a simple process that requires just patience and attention. With time, you’ll cultivate a robust starter that can last for generations. Follow this guide to begin your sourdough journey.
### Ingredients Needed for Starting Sourdough
To start, you need just a few basic ingredients:
– **Flour**: Opt for whole grain flour, such as whole wheat or rye, for the initial stages. These flours have more nutrients and wild yeast, aiding fermentation.
– **Water**: Use non-chlorinated water. Tap water often contains chlorine, which can inhibit fermentation. Filtered or bottled water ensures better results.
### Daily Feeding Schedule for a Sourdough Starter
Creating a successful sourdough starter involves a consistent feeding schedule. Here’s a simple daily routine to follow:
1. **Day 1**: Mix 100g of whole grain flour with 100g of water in a glass jar. Stir well and cover loosely. Let it sit at room temperature.
2. **Day 2**: Check for bubbles, indicating fermentation. Discard half the mixture, then feed with 100g of all-purpose flour and 100g of water.
3. **Day 3 to 7**: Continue the process of discarding and feeding daily. Gradually, you’ll notice increased activity and a tangy aroma.
By the end of the first week, your starter should be bubbly and ready for baking. Keep feeding it consistently to maintain its health and vigor.
### Tips for Success and Troubleshooting Issues
Creating a sourdough starter can seem daunting, but these tips will help you succeed:
– **Temperature**: Maintain a warm environment, ideally between 70-75°F (21-24°C). This encourages yeast activity.
– **Consistency**: Stick to the feeding schedule. Irregular feeding can cause your starter to weaken.
– **Troubleshooting**: If your starter has an off smell, appears sluggish, or forms a liquid layer (hooch), it may need more frequent feeding or a warmer spot.
Remember, each starter is unique. Adjustments may be needed depending on your environment. The key is observation and adaptation.
## How to Maintain and Store Your Sourdough Starter
Once your sourdough starter is active, proper maintenance ensures it remains healthy. Whether baking weekly or occasionally, understanding storage and revival methods is crucial to keeping your starter alive and thriving.
### Long-Term Storage Methods for Sourdough Starters
For those who don’t bake frequently, storing your starter reduces maintenance. Here are a few methods:
– **Refrigeration**: Store the starter in the fridge, feeding it once a week. This slows down fermentation but keeps the culture alive.
– **Drying**: Spread a thin layer of starter on parchment paper. Once dry, crumble and store it in an airtight container. Rehydrate when needed.
– **Freezing**: Freeze a portion of your starter in an airtight container. Thaw and feed it to revive.
### Refreshing and Reviving a Dormant Sourdough Starter
If your starter has been inactive, refreshing it is essential to restore vitality:
1. **Remove from storage**: Allow the starter to warm up to room temperature.
2. **Discard and feed**: Discard half and feed with equal parts of flour and water.
3. **Repeat**: Refresh daily until active and bubbly again.
This process may take a few days, especially if the starter has been dormant for a while. Patience and consistent feeding are key to revival.
### Understanding and Monitoring Sourdough Starter Activity
Monitoring your starter’s activity ensures it’s ready for baking. Look for these signs:
– **Bubbles**: Indicate fermentation and yeast activity.
– **Rise and fall**: A healthy starter will double and then collapse slightly.
– **Aroma**: A pleasant, tangy smell suggests a balanced culture.
Regular observation helps you tweak feeding schedules and ensure your starter remains strong. Adjust based on your baking needs and environmental conditions.
Engaging with sourdough is a rewarding experience, connecting you to a tradition of natural bread-making. Your sourdough starter becomes a reflection of your environment and efforts, offering unique flavors and textures with every bake.
Conclusion
A sourdough starter is made from flour and water that ferments over time, capturing natural yeast and bacteria from the environment. Initial steps involve mixing equal parts of flour and water until smooth. The mixture is left at room temperature, typically needing several days to ferment. The starter needs regular feeding by discarding a portion and adding fresh flour and water daily. Once the starter is bubbly and doubles in size, it is ready for bread-making.
“`html
FAQ
How long does it take to make a sourdough starter from scratch?
Creating a sourdough starter usually takes about 5-7 days. The process involves daily feeding and monitoring until it becomes bubbly and active, ready for baking.
What type of flour is best for a sourdough starter?
Whole grain flours like rye or whole wheat are excellent for starting a sourdough. They contain more nutrients and wild yeast, which help the fermentation process. Once established, you can switch to all-purpose or bread flour for maintenance.
How often should you feed a sourdough starter?
Feed your sourdough starter daily if kept at room temperature. For refrigerated starters, weekly feeding suffices to maintain its activity and prevent spoilage.
Can you use tap water for sourdough starter?
Tap water is generally safe for sourdough starters, but if it has high chlorine levels, it might inhibit yeast growth. Let tap water sit out for a few hours to allow chlorine to dissipate, or use filtered water.
How do you know when your sourdough starter is ready to use?
A ready sourdough starter will double in size within 4-6 hours of feeding, have a pleasant sour aroma, and be full of bubbles. Conduct a float test by dropping a spoonful into water; if it floats, it’s ready.
What should I do if my sourdough starter develops mold?
If mold appears on your sourdough starter, discard it and start a new one. Mold indicates contamination and can be harmful. To avoid this, ensure clean utensils and containers are used, and maintain regular feedings.
“`