


How to Shape and Roll Dough for Breads and Pastries
Shape and roll dough transforms ingredients into delicious breads and pastries, essential to anyone passionate about baking. Mastering this skill can drastically elevate the texture and appearance of your creations. This guide will explore techniques like shaping baguettes, rolling croissants, and forming brioche. Whether you’re a novice baker or a seasoned chef, learn essential tips and tricks to enhance your baking repertoire. Dive in to unlock the secrets of creating bakery-quality results at home.
“`html
Understanding Dough Preparation Basics
Dough preparation is both an art and a science, requiring care and precision. The foundation of delightful breads and pastries lies in understanding the dough’s core elements. From selecting the right type of dough to knowing the essential ingredients, this section will equip you with the knowledge to master the dough preparation process.
Types of Dough for Breads and Pastries
Dough comes in many forms, each suited for different culinary creations. Breads often use yeasted doughs, which are elastic and have a chewy texture. Common types include sourdough, whole wheat, and enriched doughs used for brioche or challah. Pastries, on the other hand, utilize laminated doughs like puff pastry and croissant dough, known for their flaky, buttery layers. Understanding these differences helps in achieving the right texture and flavor for your baked goods.
Essential Ingredients for Perfect Dough
Creating perfect dough begins with selecting the right ingredients. Flour is the primary component, with varieties like all-purpose, bread, and cake flour offering different textures. Water or milk hydrates the flour, activating gluten and affecting the dough’s softness. Yeast or baking powder acts as a leavening agent, giving rise to the dough. Salt adds flavor and strengthens the gluten, while sugar provides sweetness and feeds the yeast. Fats like butter or oil enrich the dough, offering tenderness and flavor.
Common Mistakes and How to Avoid Them
Even seasoned bakers can encounter pitfalls when preparing dough. Over-kneading can lead to tough dough, while under-kneading results in insufficient gluten formation. Too much flour makes the dough dry, whereas too little creates a sticky mess. Misjudging water temperature can kill yeast, preventing rise. To avoid these mistakes, measure ingredients carefully, knead adequately, and maintain an optimal ambient temperature for rising. Practice and attention to detail are crucial for success.
Techniques for Shaping Dough Like a Pro
Shaping dough is an essential skill that transforms a simple mixture into a work of culinary art. Whether crafting a rustic loaf or intricate pastries, mastering these techniques can elevate your baking game. This section guides you through the process, exploring tools and tips for consistent results.
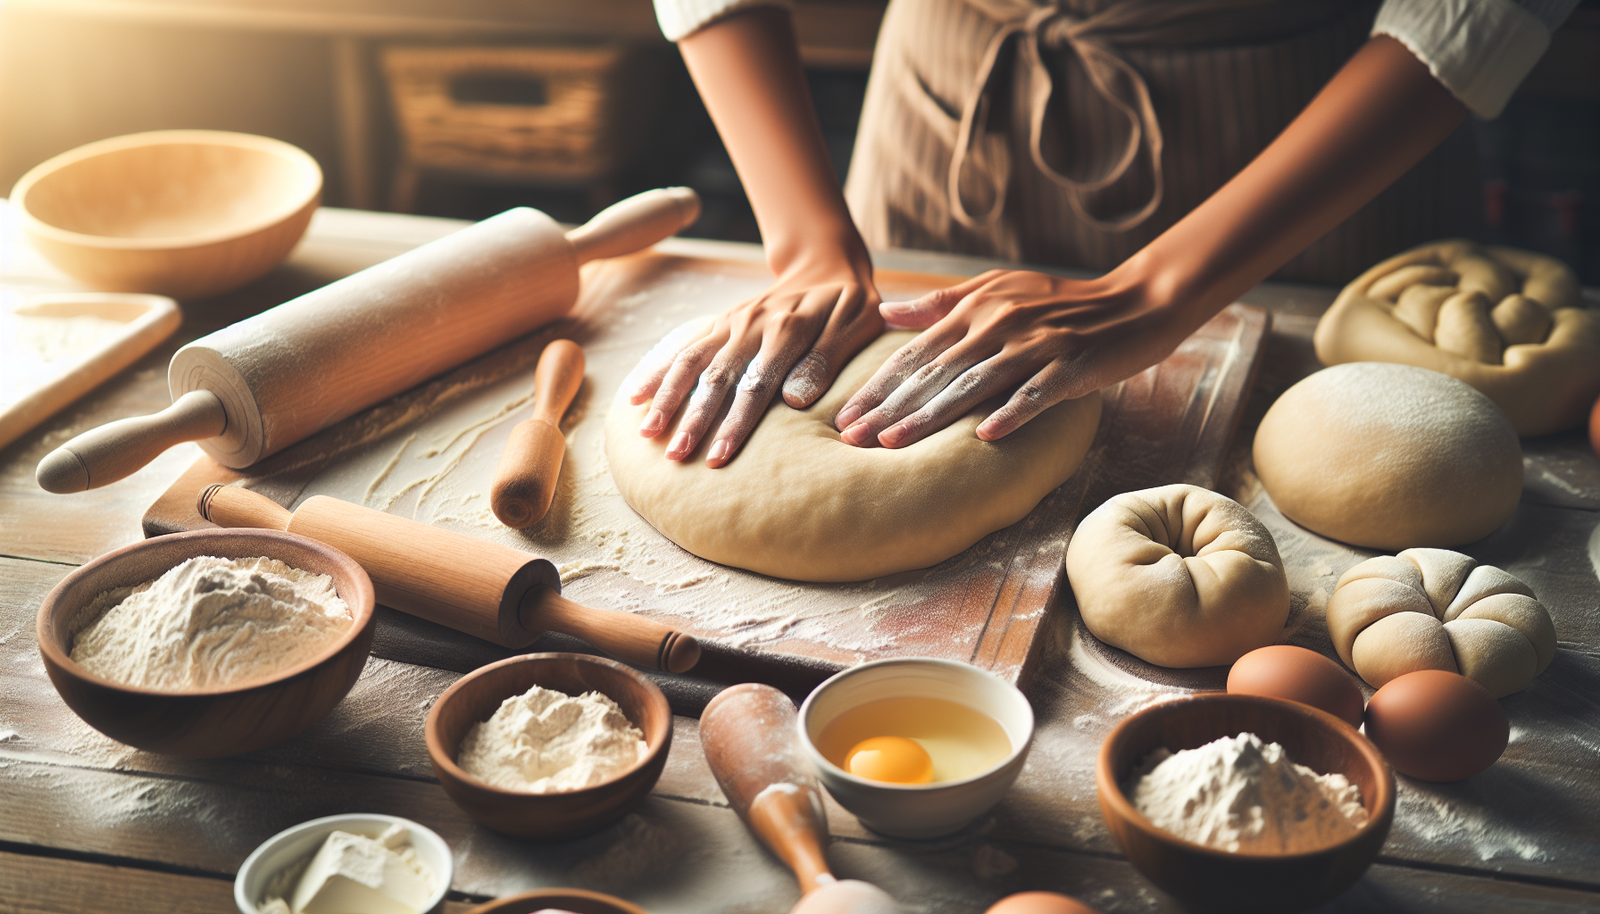
Step-by-Step Guide to Dough Shaping
Shaping dough begins with proper preparation. Start by lightly flouring your work surface to prevent sticking. Divide the dough if necessary, then gently press it into your desired shape. For round loaves, tuck the edges under to create surface tension. For baguettes, flatten the dough, fold it lengthwise, and roll it into a log. Always handle the dough gently to retain its lightness and airiness.
Choosing the Right Tools for Dough Shaping
Having the right tools can greatly enhance your dough-shaping skills. A good bench scraper is invaluable for dividing and folding dough. Rolling pins help in flattening, while dough cutters provide precision when shaping intricate designs. Proofing baskets, also known as bannetons, support the dough during its final rise and impart beautiful patterns. Each tool serves a specific purpose, making the shaping process more efficient and enjoyable.
Tips for Consistent Dough Shapes Every Time
Consistency is key when shaping dough. Start by ensuring uniform dough portions, using a scale if possible. Keep your work surface lightly floured to prevent sticking but avoid excess flour, which can affect the dough’s texture. Practice makes perfect, so experiment with different shaping techniques to develop a feel for the dough. Pay attention to room temperature and humidity, which can alter the dough’s behavior, and adjust your approach accordingly.
Mastering Rolling Techniques for Flawless Pastries
Rolling dough is a crucial step in creating flawless pastries. Achieving the right thickness and avoiding common pitfalls can significantly impact the final product. This section delves into the techniques that ensure your pastries turn out perfect every time, from preventing sticking to exploring creative patterns.
How to Roll Dough to the Right Thickness
The thickness of dough affects both texture and cooking time. Start by rolling from the center outward, applying even pressure to avoid thin spots. Check the thickness with a ruler or guide rings on your rolling pin. For pastries, aim for a consistent thickness of about ¼ inch unless specified otherwise in your recipe. Consistency ensures even cooking and a uniform texture throughout the pastry.
Preventing Dough from Sticking While Rolling
Sticky dough can ruin your pastry-making experience. To prevent sticking, lightly flour your work surface and rolling pin, shaking off excess. Chill the dough before rolling to firm up fats, reducing stickiness. Rotate the dough occasionally to ensure it doesn’t adhere to the surface. If it does stick, use a bench scraper to gently lift and re-flour the area.
Creative Rolling Patterns for Unique Pastry Designs
Creative rolling adds visual appeal to pastries. For a marbled effect, roll two different colored doughs together, twisting and folding them before rolling again. Create lattice designs by cutting strips and weaving them over the pastry. For a spiral pattern, roll the dough into a log and slice crosswise. Experiment with these techniques to bring a touch of artistry to your baked creations.
“`
Conclusion
The article provides instructions on shaping and rolling dough for various bakery items. It emphasizes the importance of using a floured surface to prevent sticking. Techniques for evenly distributing dough thickness are discussed to ensure consistent baking results. Various shapes like rounds, rectangles, and braids are demonstrated for different types of baked goods. The importance of resting the dough after shaping is highlighted to maintain its structure.
“`html
FAQ
What are the best techniques for shaping and rolling dough?
Begin by lightly flouring your work surface and dough to prevent sticking. Use a rolling pin, applying even pressure, and rotate the dough frequently to maintain an even shape. A gentle touch helps to prevent overworking the dough, which can make it tough.
How can I prevent dough from sticking while rolling it out?
Keep your surface and rolling pin lightly dusted with flour. You can also use parchment paper or a silicone mat as a non-stick surface. If the dough is very sticky, refrigerate it for a bit to make it easier to handle.
What tools are essential for effectively rolling dough?
A good rolling pin is crucial, whether it’s a classic wooden pin or a modern silicone one. Bench scrapers help handle the dough, while a pastry brush can remove excess flour. A silicone mat or parchment paper serves as a great rolling surface.
How does the temperature affect shaping and rolling dough?
Temperature plays a vital role in dough handling. Cold dough is easier to roll but can crack, while warm dough may become sticky. Keeping the dough chilled until ready to roll can help achieve the perfect consistency.
What are common mistakes when shaping and rolling dough?
Applying too much pressure or over-flouring can lead to tough dough. Not rotating the dough while rolling can cause uneven thickness. Avoid working with warm dough, which can lead to sticking and tearing.
How to choose the right surface for rolling dough?
A smooth, flat surface is ideal. Marble or granite countertops stay cool, making them perfect for pastry doughs. Alternatively, a wooden board or silicone mat provides a consistent, non-stick surface.
“`